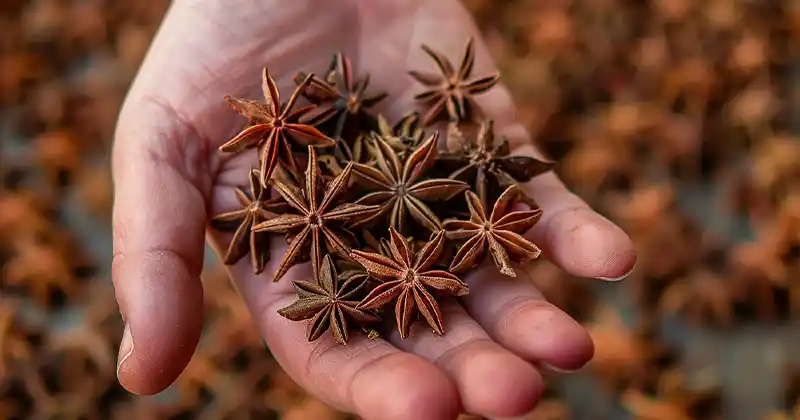
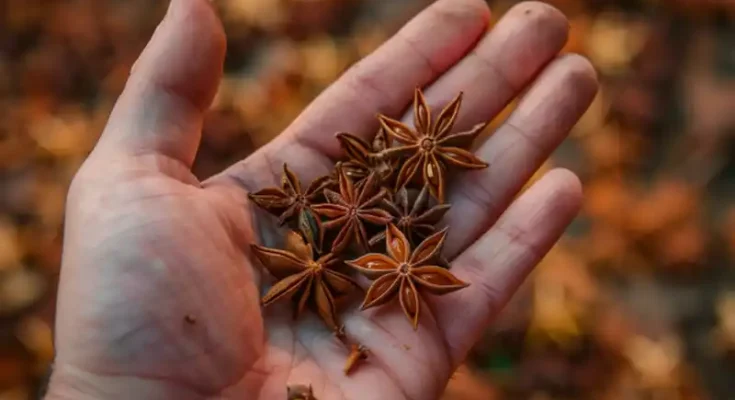
Growing star anise (Illicium verum) in containers is a challenging but fulfilling gardening project. This aromatic spice, known for its distinctive star-shaped fruit and licorice-like flavor, is primarily grown in China and Vietnam. While it’s more demanding than typical garden herbs, with the right conditions, you can cultivate star anise at home. Here’s your step-by-step guide to growing star anise from seed to spice.

Step 1: Source Your Seeds
Obtaining star anise seeds can be tricky as they need to be very fresh to germinate. Look for seeds from reputable suppliers or specialty garden stores. You might also consider starting with a young sapling, which can be easier to establish.
Step 2: Choose the Right Container
Star anise trees can grow quite large, but with pruning and proper care, they can be maintained in a large container. Choose a pot that’s at least 18-24 inches deep and equally wide with excellent drainage.
Step 3: Soil and Location
Use a high-quality, well-draining potting mix. Star anise prefers slightly acidic to neutral soil (pH 6-7). Position your container in a spot that receives partial shade, as the tree needs protection from intense afternoon sun.
Step 4: Planting
Plant your seeds or sapling in the prepared container. If starting from seeds, plant them just below the surface of the soil. Keep the soil moist but not waterlogged. Germination can be slow and erratic, often taking several weeks.
Step 5: Watering and Humidity
Star anise requires consistent moisture and high humidity. Water the plant deeply when the top inch of soil feels dry. Consider placing a humidity tray under the container or using a humidifier if indoor air is dry, especially during winter.
Step 6: Feeding
Feed your star anise plant with a balanced, slow-release fertilizer that is rich in nitrogen. Fertilize at the beginning of the growing season and again in mid-summer to support growth and fruiting.
Step 7: Pruning and Care
Prune your star anise tree during the dormant season to maintain a manageable size and encourage bushier growth. Remove any dead or diseased branches, and shape the tree as desired.
Step 8: Overcoming Challenges
Be patient with star anise; it grows slowly and can take several years before it starts producing fruit. Watch out for pests like aphids and spider mites. Use organic pesticides to handle infestations, particularly since this is a spice plant.
Step 9: Harvesting
Star anise fruits are ready to harvest when they ripen to a reddish-brown color and open slightly. Harvest the whole star by cutting it from the tree, then allow it to dry in a cool, dark place.
Step 10: Storing
Once dried, store your star anise in an airtight container away from direct sunlight and moisture. Properly stored, star anise can retain its flavor for up to a year.
While growing star anise in containers requires patience and care, it can be incredibly rewarding. This spice not only enhances culinary dishes but also adds an exotic touch to your garden or home. Enjoy the process and the unique flavor it brings to your kitchen!


Your point of view caught my eye and was very interesting. Thanks. I have a question for you.