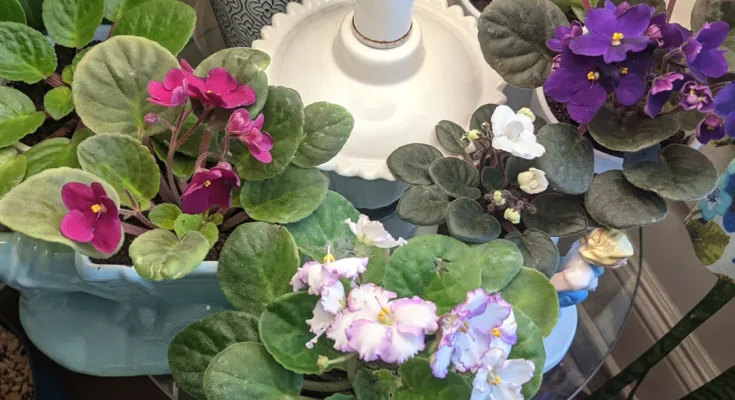
Whether you are new to African violets or don’t have a room in your house without one, you need to read this article.
These beautiful plants are a lovely addition to any houseplant collection, but there are a few things you need to know beyond their basic care and feeding if you want them to thrive.
We’ve already discussed in great length how to take care of them, propagate new ones and get African violets to bloom in our definitive guide.
But sometimes, it helps to have a few tricks up your sleeve. I’ve collected a few ‘secrets’ that will make your African violets the envy of all your houseplant-loving pals.
Read on to get those violets growing!
1. Epsom Salts = Big, Beautiful Blooms
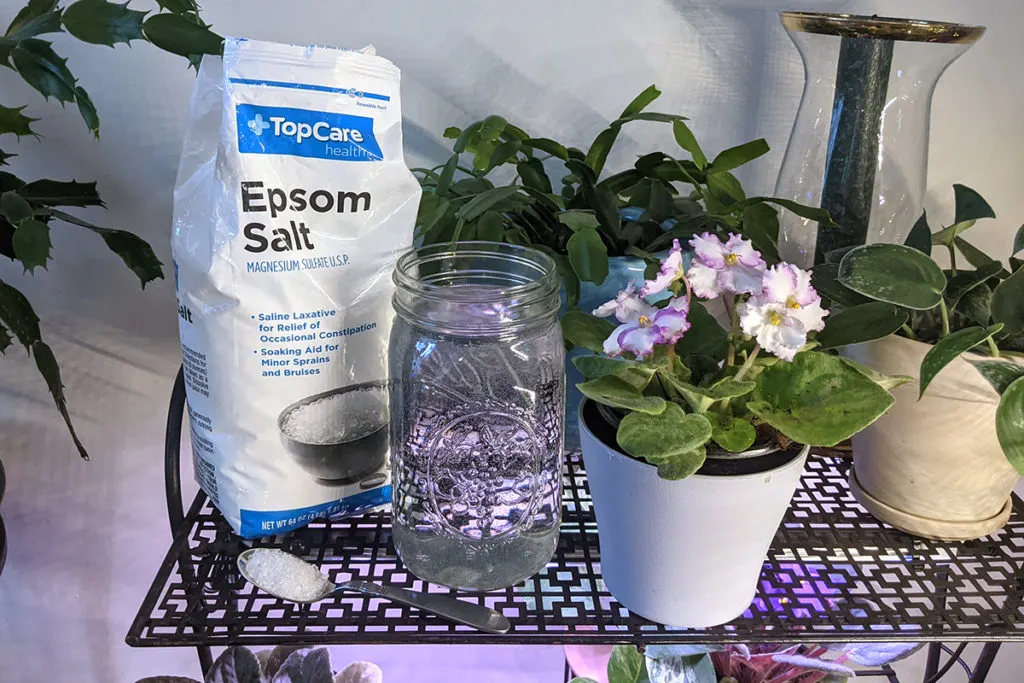
If you’ve got great light, your plant is happy, you’re fertilizing with an African violet specific fertilizer, and you still aren’t getting blooms try a little Epsom salt. (Heck, give ‘em some Epsom salts even if they’re doing great.)
Epsom salts provide plants with essential magnesium and sulfur – two minerals needed to produce beautiful blooms and healthy foliage.
Mix one and a half teaspoons of Epsom salts in a quart of tepid water and swirl to dissolve. Water your African violets (below the leaves) with this solution once a month. Your plants will thank you with beautiful blooms.
Read Next: 20 Ways Epsom Salt Helps Your Plants & Garden
2. Soak Your Violets, Don’t Water Them
African violets are notoriously fussy when it comes to watering. You can’t let them dry out completely, but they get root rot at the drop of a hat if overwatered. When you consider their leaves can develop spots if water is left on them, then suddenly a menial houseplant care task becomes a real pain in the bud.
These Goldilocks need to be just right – slightly moist at all times.
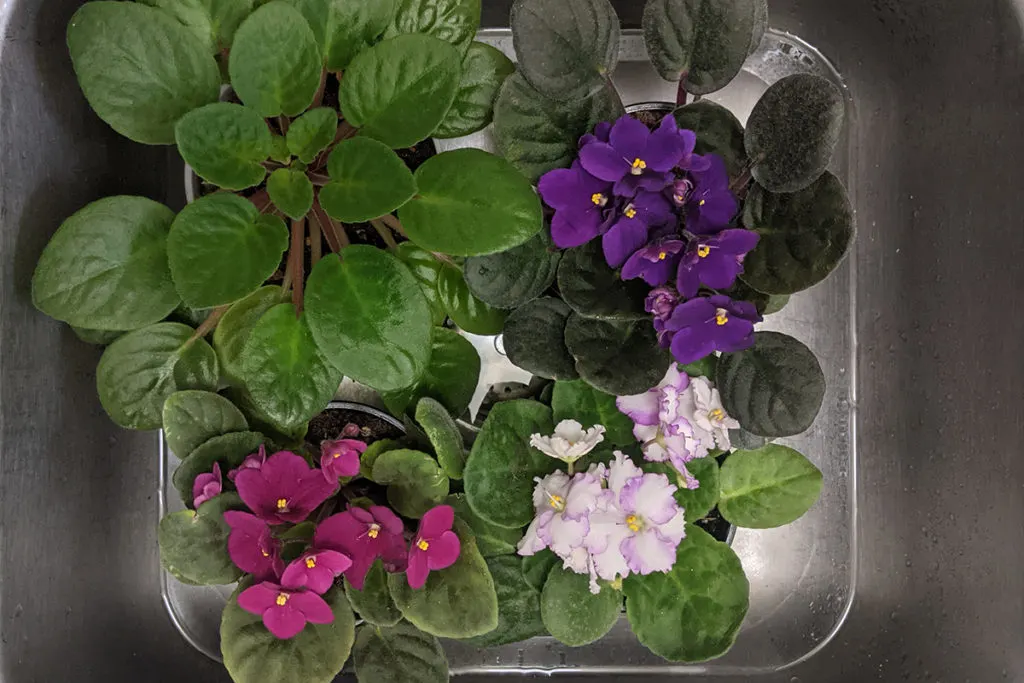
The absolute best way to water African violets is to soak them. Fill your sink with an inch of tepid water and place your African violets in the sink to soak. They will draw up water through the drainage hole in the bottom of the pot (You do have them in a pot with a drainage hole, right?); no need to worry about the crown rotting or spotty leaves.
Let the violets soak for 10-15 minutes, then empty the sink and let the violets drain any excess water for a few minutes before returning them to their usual spots.
3. African Violet Pot
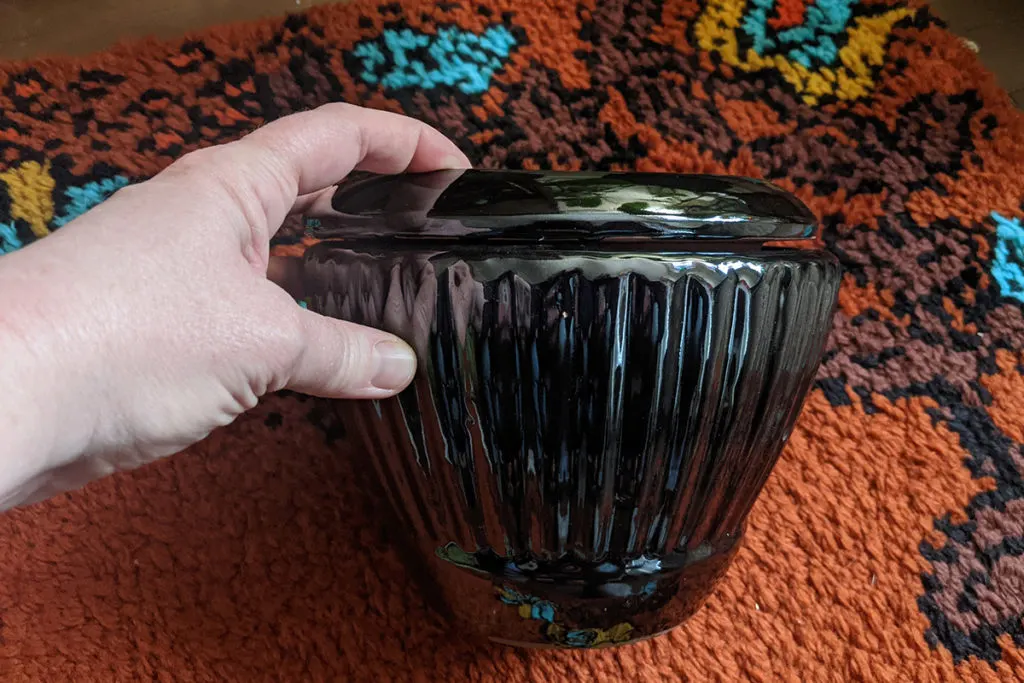
Another easy solution to the problem of watering African violets is to use a self-watering pot, often called an African violet pot. These ingenious pots are made for these finicky plants. They come in two styles; both are two separate pieces.
The first style has two pots, one that fits within a larger one. The outer pot is glazed on the outside, and the inside and smaller inner pot are bare terracotta. There is no drainage hole in the bottom of the inner pot.

You simply plant your African violet in the inner pot, and when it needs it, you add water to the bottom of the larger outer pot. When you place the smaller pot back inside, the bare terracotta absorbs the water.
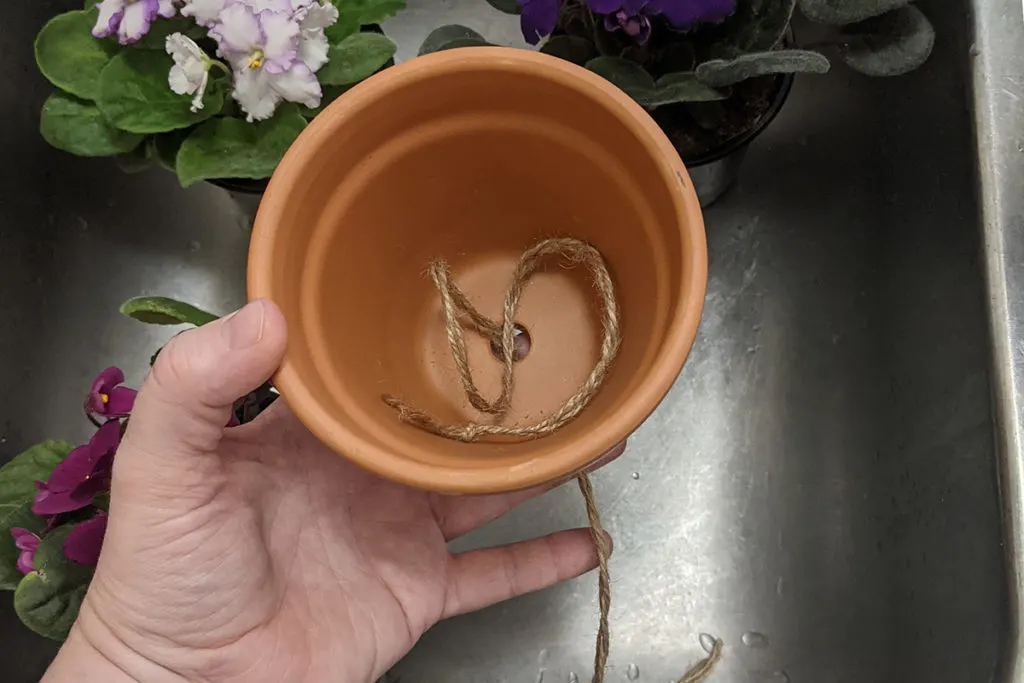
The other design is similar to the first, only there are two holes at the bottom of the inner pot allowing you to put a piece of twine or cotton rope through it before you plant your violet. You add water to the inside of the larger pot, and the twine hangs down and wicks water up into the soil as needed.
You can easily make a similar setup using a plain terracotta pot that fits inside a larger pot with no drainage hole.
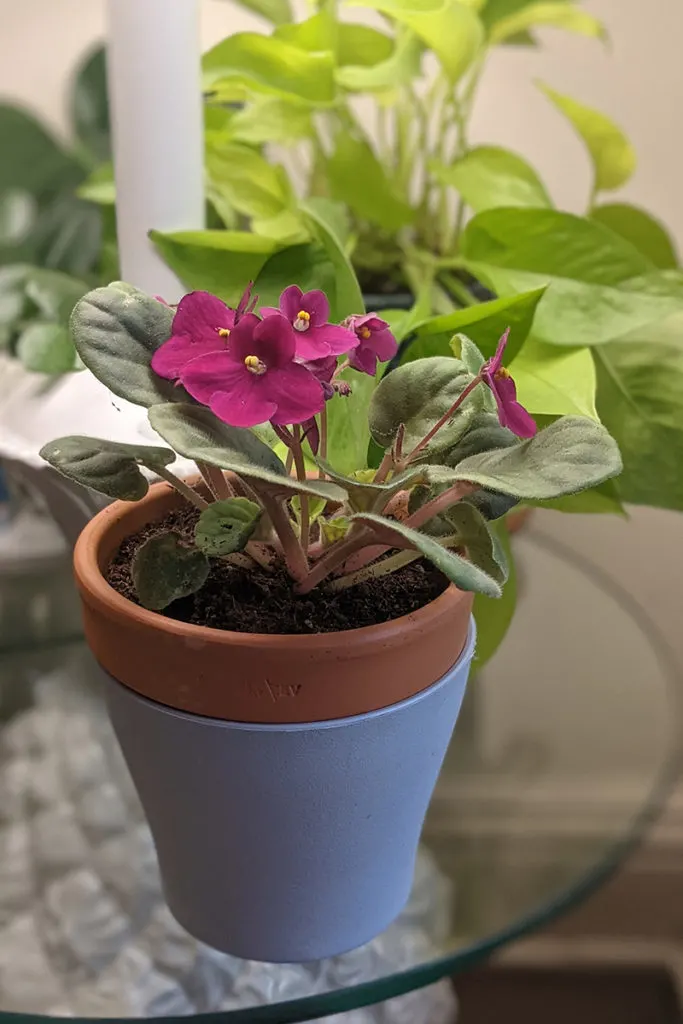
Most nursery and garden centers carry African violet pots, or you can order them from Amazon. You can get a set of plastic self-watering pots rather inexpensively, or if you want something a little nicer, you can go for the more traditional clay self-watering pot.
4. Refresh the Soil Once a Year
Each year you should repot your plant with new soil. However, it’s important to note that you likely do not need to go up a pot size when you do this. African violets won’t bloom unless they’re a little root-bound. You’re just changing out the soil to give the plant a refresh.
And because they only grow from the crown (think of a fountain with the water coming out of the top), they won’t be sprawling and taking up more room as they grow, so a smaller pot is preferred.
Replace the soil with a good potting mix made specifically for African violets.
Regular potting mix is often much too heavy and can compact the roots. You might want to add a little Orchid potting mix in as well to improve drainage.
I like both the Espomo African Violet Potting Soil, as well their Orchid Potting Mix.
Once you’ve finished potting up your violet, inoculate it with quality mycorrhizae. If you’re unfamiliar with the benefit of these microscopic fungi, you can read up on them below.
Why You Should Add Mycorrhizae To Your Soil – Stronger Roots & Healthier Plants
5. A Dozen Leaves
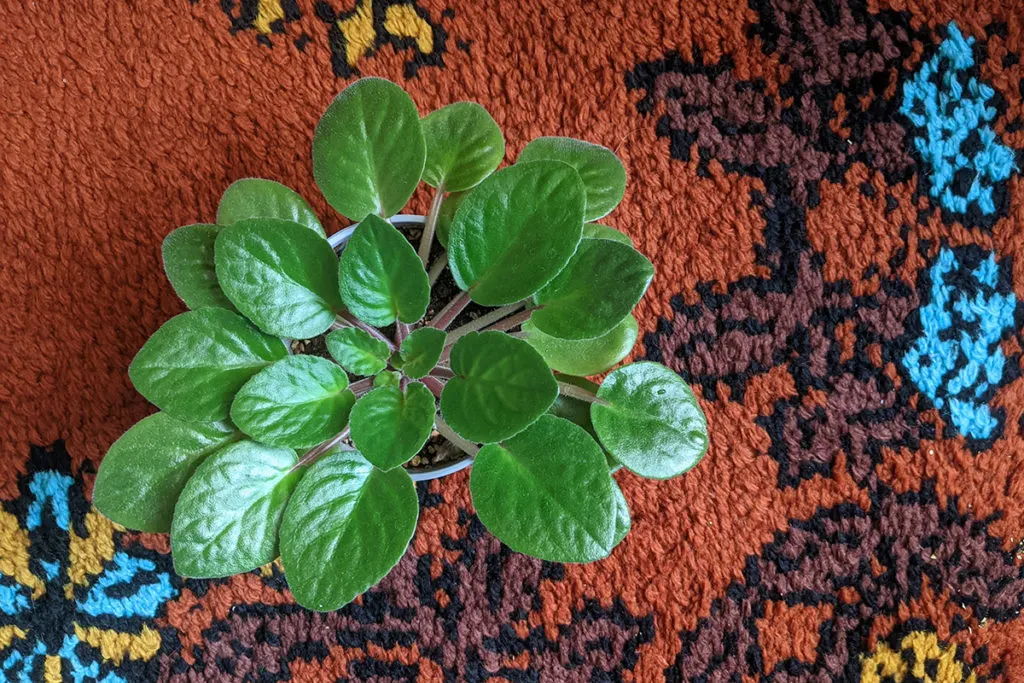
If you want to encourage new growth and more blooms, keep the number of leaves growing on your violet to around a dozen or so. New leaves and blooms only come from the very top crown of the plant.
To remove the leaves, you’ll need to look at the plant from the side for the lowest growing leaf on the stalk. You can simply snap it off with your hands or use a clean Xacto knife or scissors. Continue removing leaves, working your way up until you’ve got roughly a dozen left.
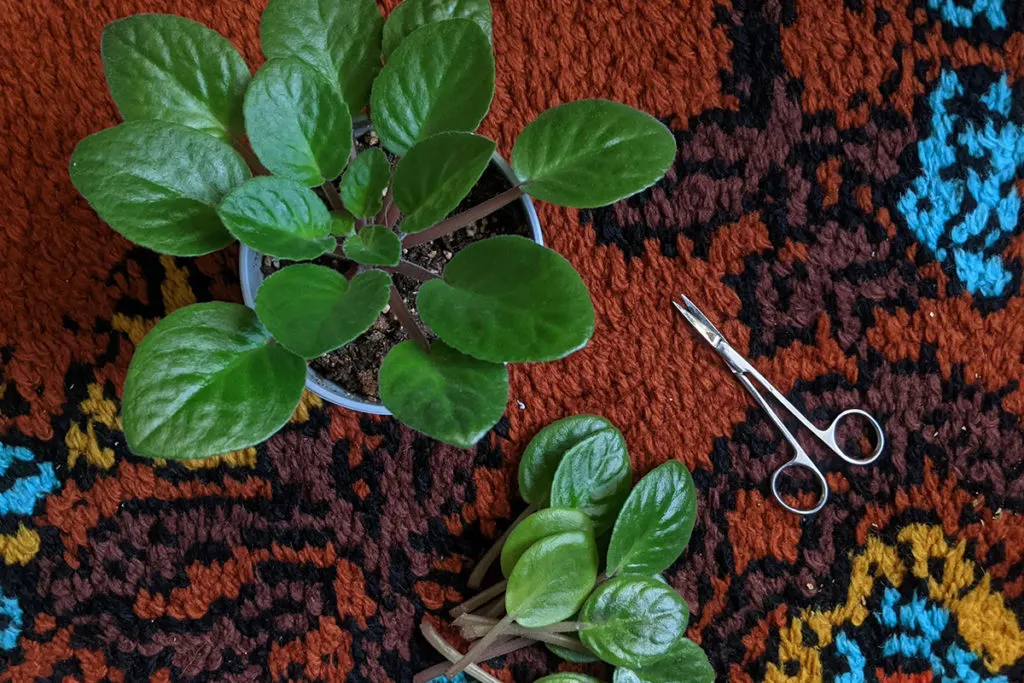
You might notice you’ve got a lot of the stalk sticking out of the pot now.
You can either let the stalk heal over for a few days and top-dress the plant with a little soil or repot the violet.
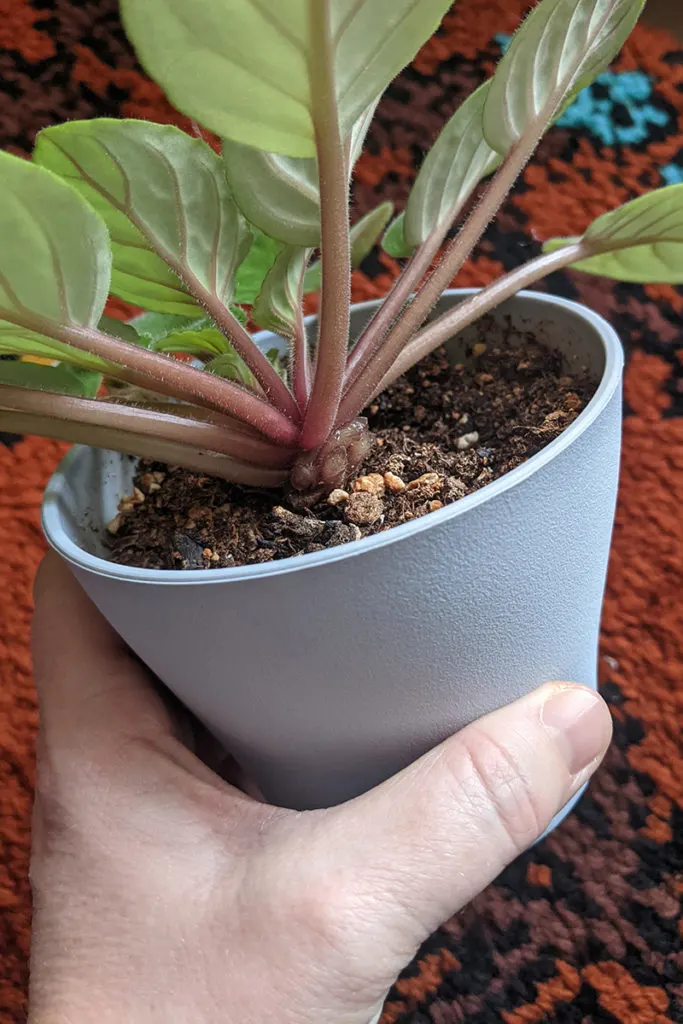
Keeping the leaves under a dozen means the plant can focus more energy and nutrients on blooms rather than maintaining old leaves.
You can turn your African violet leaf cuttings into brand new plants by learning how to propagate – here’s our step-by-step tutorial for doing just that.
6. Enlist a Little Lighting Help
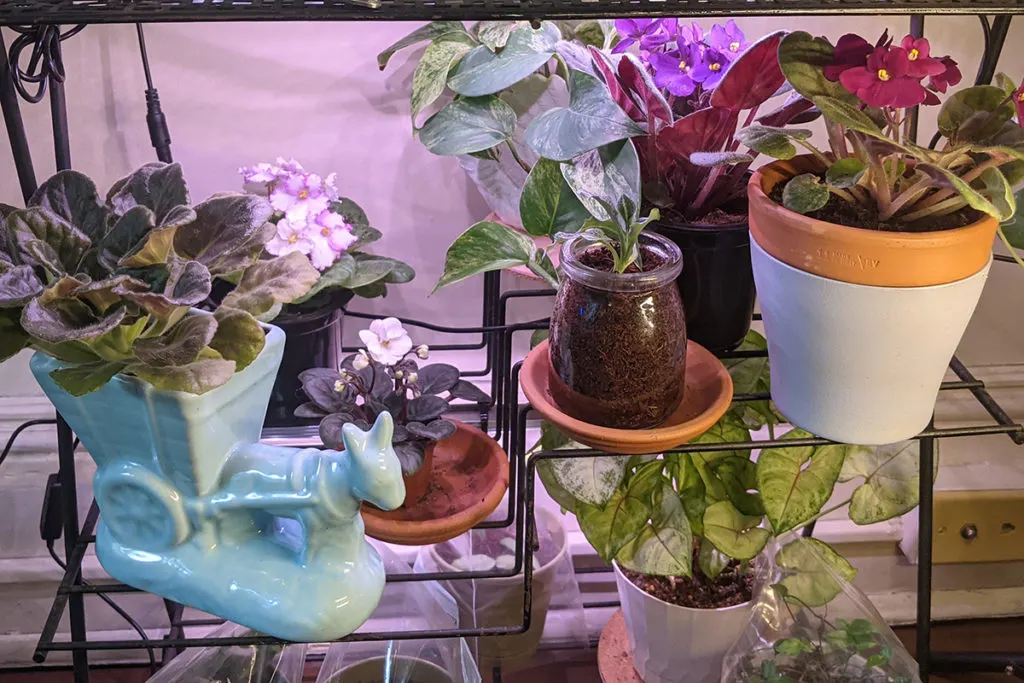
Violets love light. And if your violet isn’t blooming, nine times out of ten, it’s because they aren’t receiving enough light. This is especially true in the winter.
If you live somewhere that has dark, gray winters, your violet will need a little extra light during the colder months of the year. Lucky for us green thumbs, LED grow lights are becoming easier to find and afford these days.
A good rule of thumb is to turn the lights on once the sun goes down and turn them off before you go to bed at night. Many grow lights have a built-in timer feature, but you can easily purchase a light timer to add to one if yours doesn’t have a timer.
I’ve found that a quality full-spectrum grow light works best, as plants need all light spectrums for optimum health.
Navigating the waters of finding a quality LED grow light can be tricky, but we’ve done our best to make it less confusing –
7. Get a Nano Bristle Toothbrush
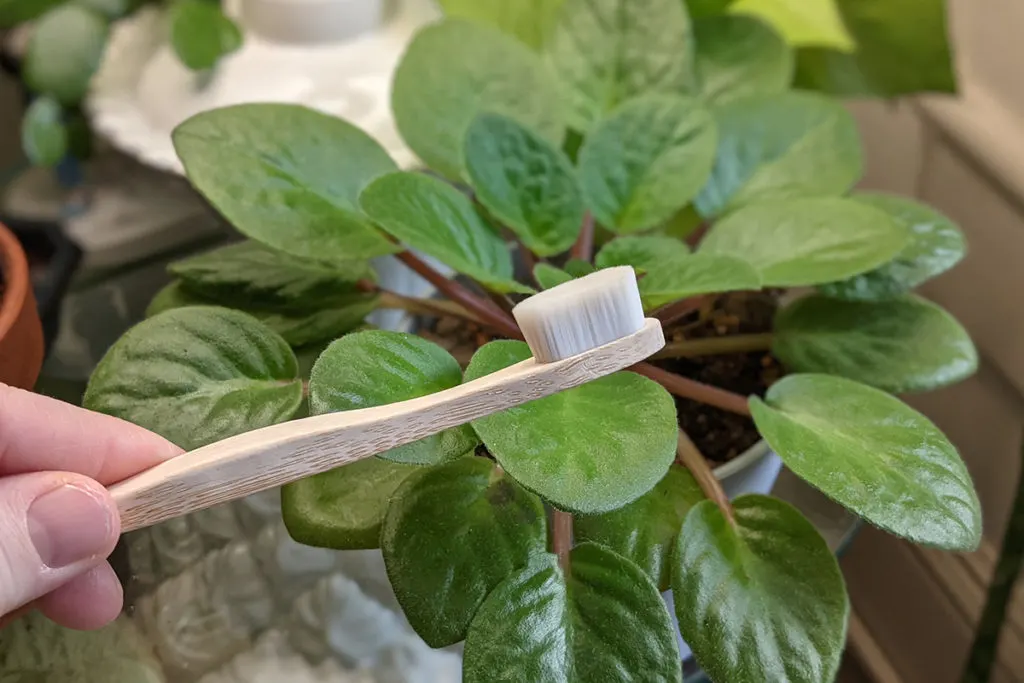
A while ago, these toothbrushes started popping up all over social media. They have very soft, densely packed bristles, and they’re said to be much easier on your gums when brushing. I don’t know if that’s the case, but what I do know is they are marvelous for dusting African violet leaves.
The bristles are soft enough not to damage the leaves yet stiff enough to whisk away dirt and dust, leaving your plant’s leaves looking great.
Those tiny hairs all over African violet leaves make excellent dust and dirt catchers, but they’re no match for a nano bristle toothbrush.
When you repot your violets, you usually end up with potting soil all over your leaves. This little toothbrush works great for removing bits of potting soil.
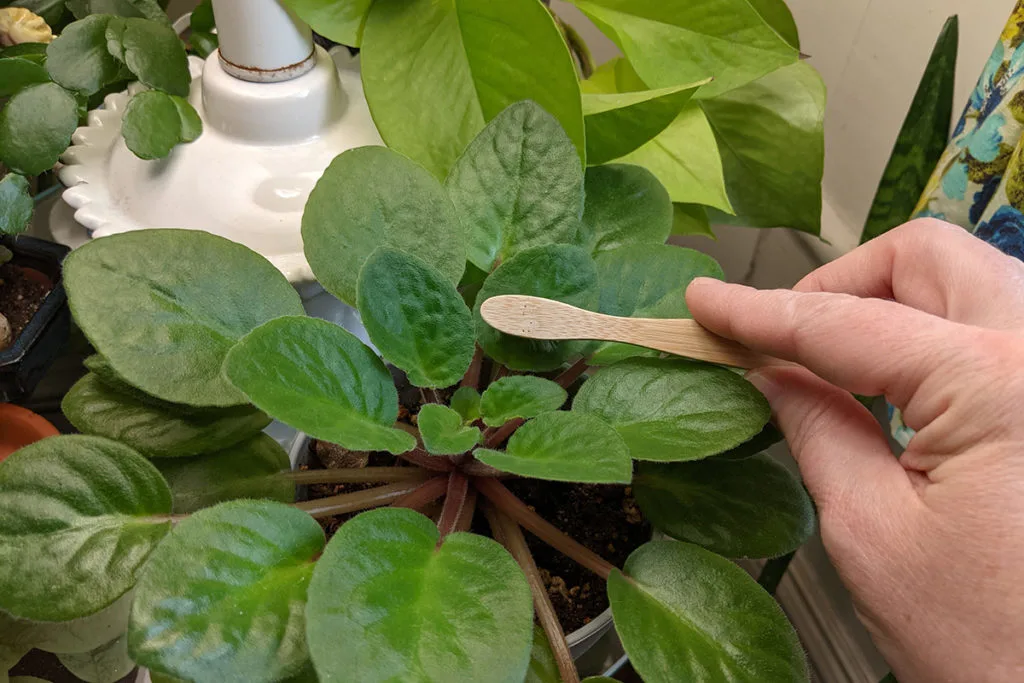
If you put these little tips into practice, you’re sure to have African violets that last for years and bloom more often than not. And who wouldn’t want more tiny, colorful flowers to brighten their day?
I don’t think the title of your article matches the content lol. Just kidding, mainly because I had some doubts after reading the article.